|
Vehicle
Maintenance |
|
Bringing
Fleet Management to the Desktop |
How to Upgrade Your
Current Version
Before you install the latest version,
first uninstall the version currently on your computer. This is
completely safe as it does not remove your database or your current
program settings.
Follow these simple steps to remove the current version:
1. Click the Start button located on your Taskbar.
2. Click on Control Panel to bring up a window like shown below.
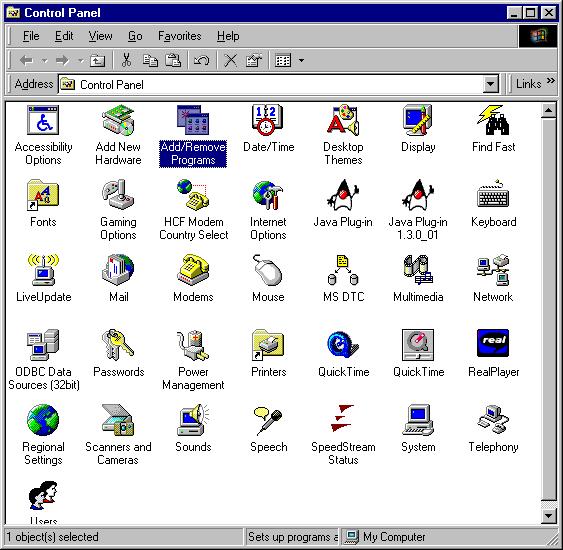
3. Click on the Add/Remove Programs
icon to bring up the following window.
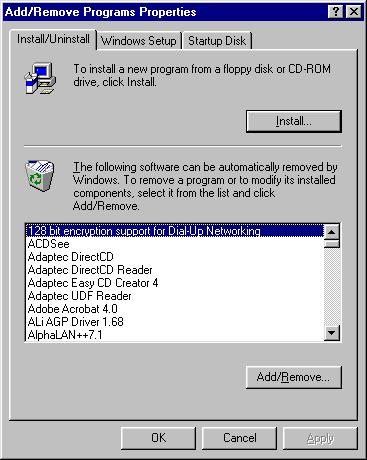
4. Scroll down the list of applications
until you find Vehicle Maintenance and double click it.
5. When the uninstall begins, click the Yes button to proceed.
6. If you are asked if you want to keep any system files, click Yes
to All.
7. That's it! Now you can close the Add/Remove Programs Properties
window and the control panel and install the newest version.
Installing the Current Version
Beginning with version 2.0.0, the look of the installation program has
changed quite a bit. It takes advantage of Windows Installer
technology to insure that you have the latest core Windows components to
run your software.
Close Any Applications
Before you begin the installation, make sure any applications you have
running have been closed.
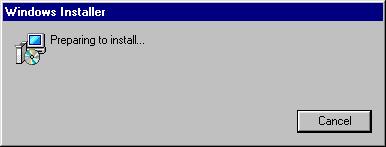
Start the Install
To begin the installation, just
click
here to start the Vehicle Maintenance Install. You will see the
Windows Installer setup window appear.
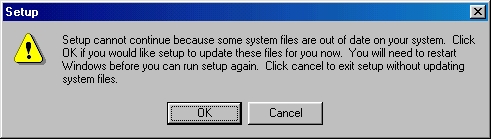
Will You Need to Reboot?
When the setup program is running,
another check it performs is to insure that you have the current core
Windows components necessary to run your application. If in the process
of checking this it finds some to update and those files are in use by
Windows, you will be asked to reboot your computer to update these items
as seen below.
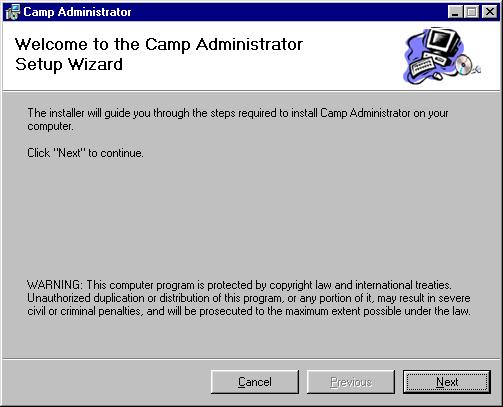
Here We Go!
Once you see the screen below, you
are almost finished with the installation. Just press the Next
button to proceed.
Select the Installation Folder
Now it is time to tell the install
wizard where you want the program files to reside. Just press the
Next button to proceed with the default folder name. If the folder
does not exist, it will automatically be created for you.

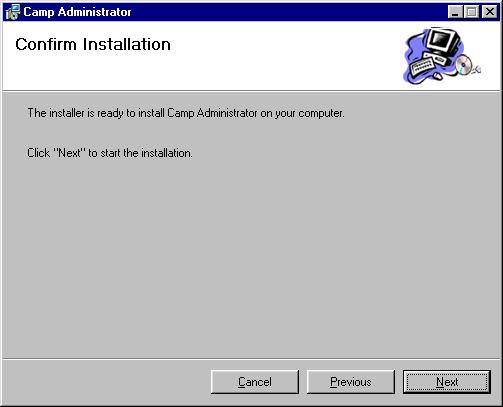
Once you click Next, you will get
one last chance to proceed or return to a previous screen to make
corrections. Again, click Next to proceed.
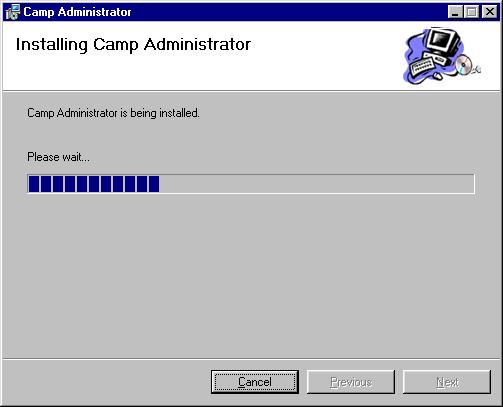
Now sit back and watch as the
application is copied to your hard drive.
Click Close to finish. That wraps
up this phase of installing your software.
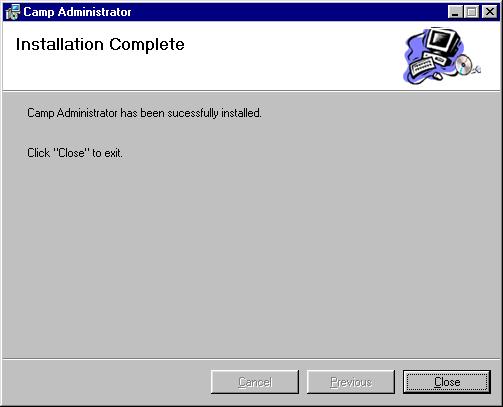
Now you're ready to begin!
Back to Vehicle Maintenance Home Page
|
Vehicle
Maintenance |
|
Copyright © 1996 |
|
Crossroads Software Solutions |
|
1946 East Elm |
|
Springfield, Missouri
65802 |
|
USA |
|
417.848.0389 |
|
|
|
All rights reserved
worldwide |
|
